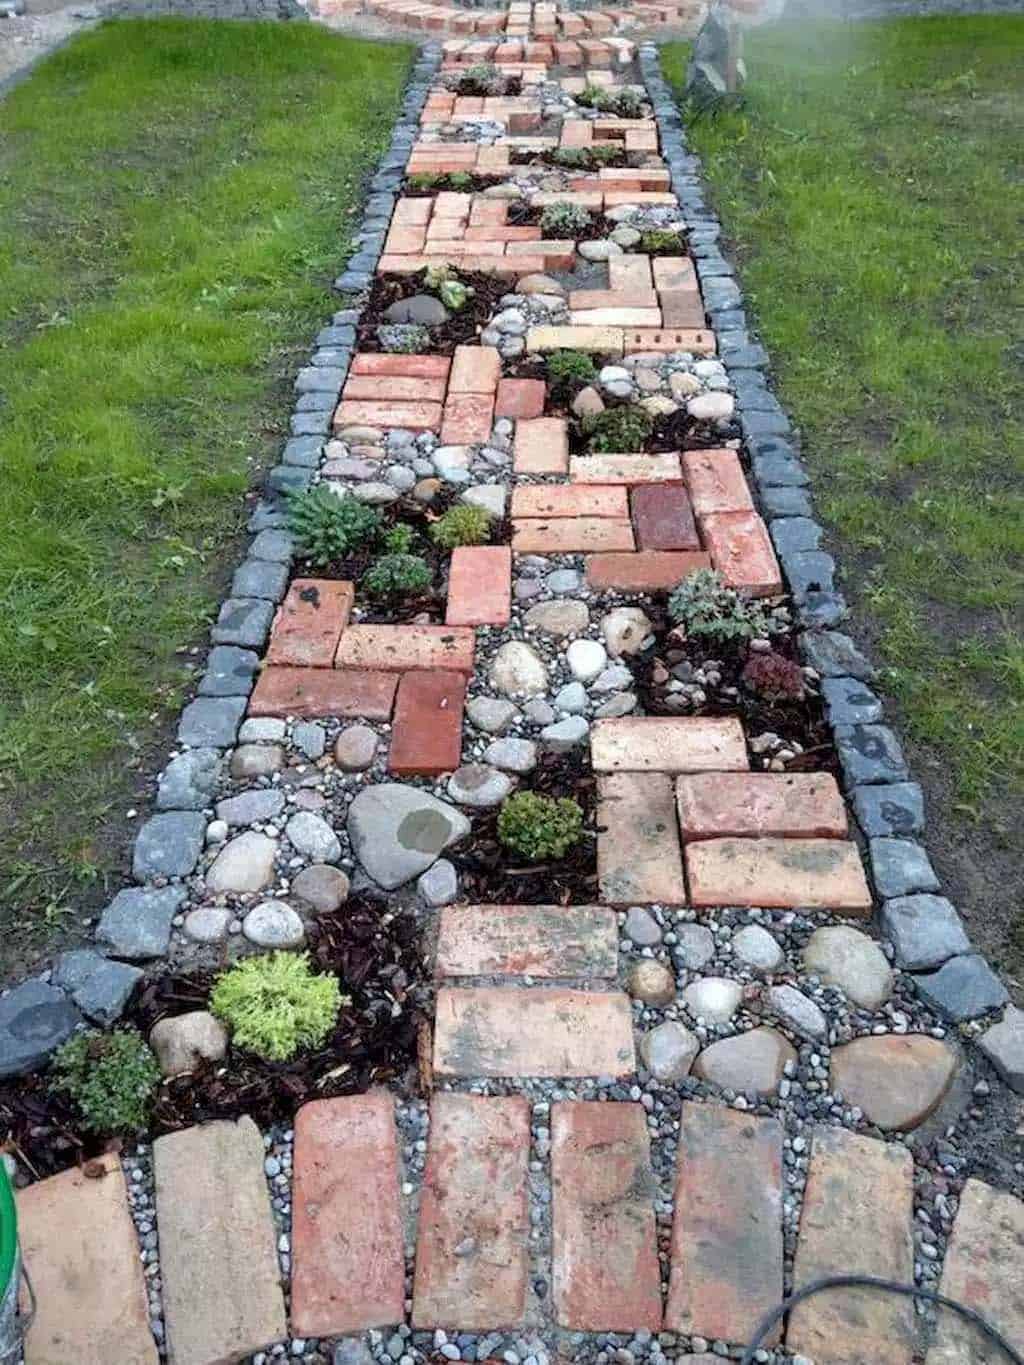
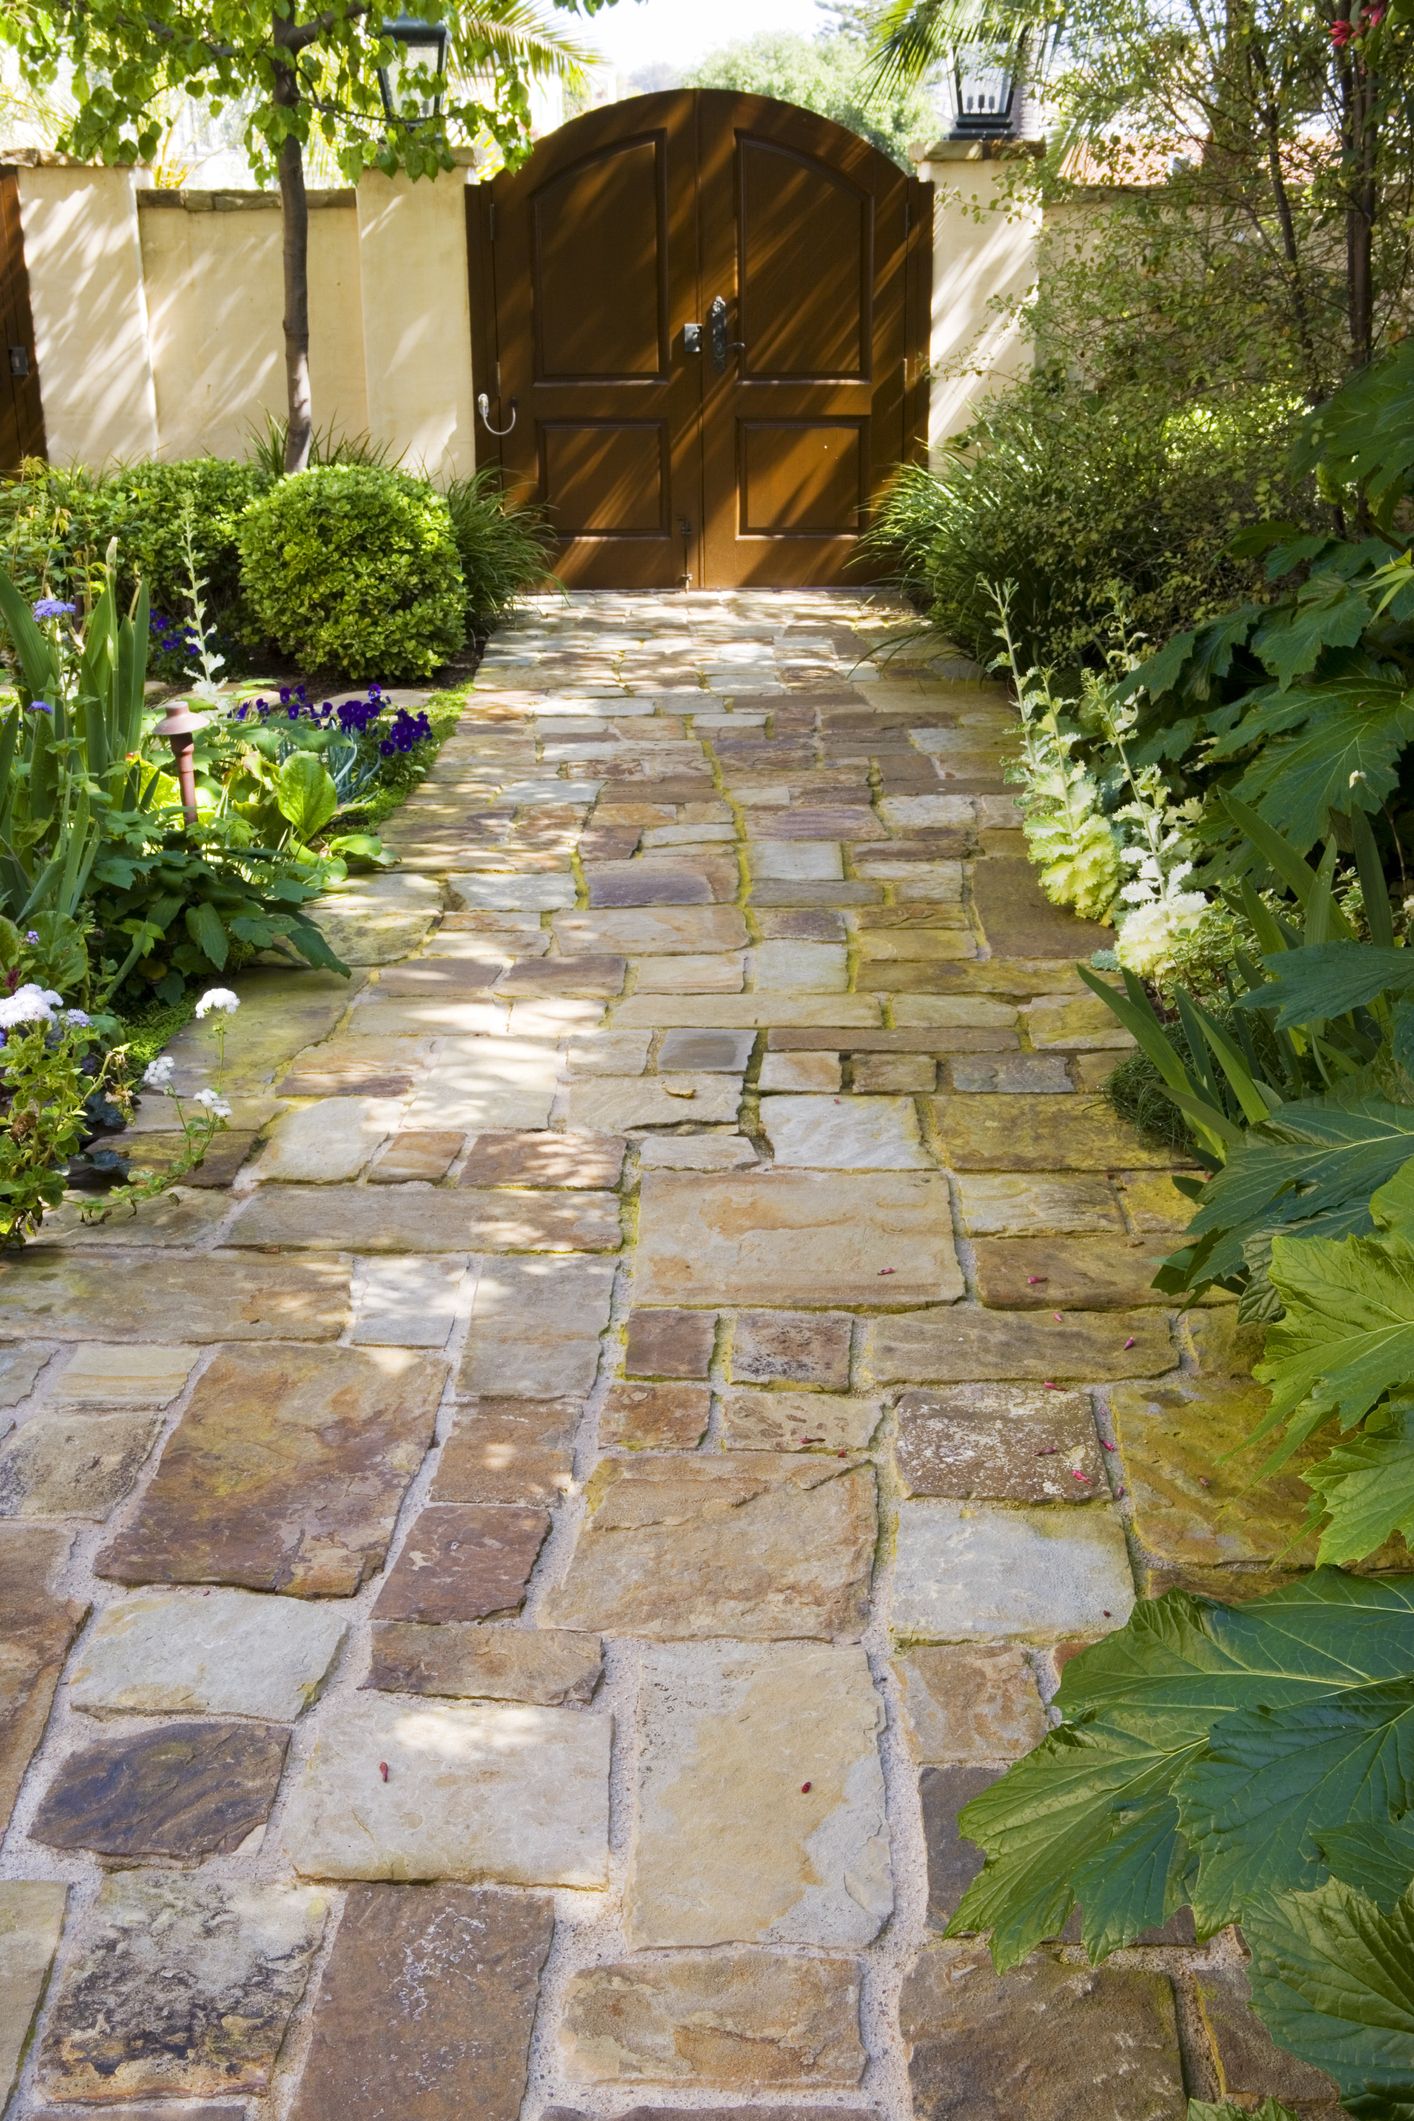
Creative Paths: How to Make Stunning Cement Garden Stones Easily

Forget those tutorials that make DIY garden stones sound like prepping for a concrete sculpture contest. After years of coaxing friends and family—many who were convinced they’d mess it up—into making their own stepping stones, I promise: This is supposed to be fun, not frustrating. If you’ve ever mixed up cookie dough or fished a trowel out of your shed, you’re more than prepared.

Let’s cut the clutter and get to what WORKS (and what absolutely doesn’t), with stories, stumbles, and the shortcuts I wish someone had handed me on day one.
What You Really Need to Start
You don’t need a craft store shopping spree or an engineering degree. In fact, here’s my supply list after many, many experiments—and at least a dozen asymmetric stones I still proudly use:
- Fast-setting cement (like Quikrete Fast-Setting Concrete Mix; $10 makes 4 big stones)
- Any sturdy, shallow container for a mold: cake pans (thrifted!), pie plates, even old lunchboxes. My neighbor once used an empty plant pot saucer.
- Something to stir with—a kitchen spoon or stick will do
- Water
- One set of rubber gloves if you like keeping your hands clean
- Decorations from home or nature (shells, ferns, keys from the junk drawer—yes, really)
- Plastic wrap or trash bags for curing
- Optional: clear outdoor concrete sealer ($8–$15)
That’s really it. No specialty pigments. No fancy molds unless you love unicorn shapes.
Mixing Cement: The "Yogurt Rule"
Most mistakes happen before you even pour—the mix is either thick as clay or watery as soup. Here’s my shortcut: Aim for plain Greek yogurt texture.
Start with dry cement in your bowl. Add water slowly, stirring as you go. Scoop some up: it should hold mounded shape but spread slightly if nudged. Too thick? Sprinkle in a bit more water. Too thin? Add cement mix back.
Still worried? My ten-year-old nephew nailed it by thinking “not oatmeal… not pancake batter… just yogurt-y.” If you’re a visual person, try this tiny test: drop a spoonful onto wax paper. The edges shouldn’t ooze out by more than half an inch after ten seconds.

Shaping Without Fuss
Silicone molds look cool on Pinterest but aren’t required unless you have your heart set on dragon scales or hearts. Seriously—my favorite stone was shaped by a $1 lasagna pan where one corner had rusted away (gives the edge personality). Pie tins make perfect circles; old Tupperware equals quirky freeform shapes.
If your mold feels flimsy, just prop up the sides with books or bricks while pouring.
Decoration: Less Means More
This part always gets wild at workshops—everyone dumps handfuls of marbles and buttons in at once (“for extra sparkle!”). But I’ve learned one item with meaning per stone makes people smile all year:
- A single leaf from your favorite hiking trail
- Shells from last summer’s beach trip
- Grandma’s broken tea cup piece (I cried when we made that one together)
- An old house key you can’t throw away
- Painted initials—the messier the better
Arrange dry on cardboard first so you’re ready when time counts (and it will count; cement waits for no one). Press gently into poured mix about five minutes after pouring—it should feel firm but still yield.
Pro tip: Changing your mind mid-project? Wait until fully cured and attach decorations with clear outdoor epoxy later; they’ll pop right off if you want to redo it next year.

Curing: The Make-or-Break Step
Here’s where most stones go wrong—I still cringe remembering the batch I hurried because rain was forecast (spoiler: they all cracked).
Do this every time:
Cover freshly poured stones with plastic wrap or slide them under an upside-down trash bag. Rest them in the shade—not sun!—for at least 36 hours untouched.
If air is dry (humidity under 40%), lightly mist the plastic twice daily so things stay damp underneath.
Impatient? Trust me—it’s worth waiting the extra day for stones that last years instead of weeks.
Sealing & Bringing Out Color
Two years ago, I put twenty test stones along my back garden—half sealed, half not. Six months later? The unsealed ones had faded like old jeans in July sun; sealed ones were still vibrant and sharp-edged.
Any water-based concrete sealer from a hardware store will do the trick—a foam brush works best to dab around any embedded objects so no moisture sneaks under. Two thin coats > one thick coat.
If budget is tight? Even two coats of exterior Mod Podge kept our “memory lane” path bright through snowfall and spring storms.

Real-life Experiments & Unexpected Wins
Somehow, accidents often look better than perfection:
Marcie, my neighbor down the lane, cast her husband’s lucky fishing lure inside a loaf pan-stone. Every time someone spots it along her hostas, she shares his best “one-that-got-away” story—her way of keeping him close and visitors entertained.
When my niece came over last July, she decided denim scraps were “cooler than seashells.” We pressed strips into wet cement… crosshatched blue imprints survived hurricane season in Florida!
Luis (age nine) immortalized his initials beside three acorns he found out front; those initials looked wobbly as heck—but his pride is straight-up permanent.
Failed attempts? They’re still useful—I break cracked stones into chunky bits at the base of flowerpots for instant drainage layer (“zero waste,” as my dad would say).

How Long & How Much?
One bag ($10) = about four dinner plate-sized stepping stones (ten-inch diameter).
Plan about 20 minutes of actual hands-on work per batch.
Decorative stuff? Free if scavenged.
Total elapsed time will depend on weather—but plan on two days start-to-finish (hands-off except for peeking excitedly at progress).
Checklist for First-Timers
- Gather materials (see above—you honestly don’t need extras).
- Set out mold(s), decorations arranged dry-as-a-test run.
- Mix cement to Greek-yogurt thickness.
- Pour into molds; gently tap sides to settle.
- Press decorations in after five minutes.
- Cover with plastic; cure in shade 36+ hours.
- Unmold carefully; let sit another day if possible.
- Seal surfaces for lasting color/memory.
- Celebrate—even if lopsided!
- Share your creation with friends…or send me a photo! I love seeing others’ brilliant flubs as much as their successes.
Troubleshooting Table (Based on 50+ Attempts!)
| Problem | Most Likely Cause | Fix/Prevention |
|---|---|---|
| Stone cracks | Moved/unmolded too soon | Always cure under plastic 36–48 hrs |
| Decorations fell out | Pressed while too wet/late | Wait ~5 min post-pour before pressing |
| Fuzzy/incomplete edge | Mold too floppy/thin | Use firmer dish—or prop up sides |
| Surface discolors | Found items dirty/not sealed | Wash items first; seal thoroughly |
A Personal Note Before You Start
If anyone tells you there’s only ONE way to make garden art—they’re wrong! Some of my biggest conversation pieces are stones that didn’t “work” as planned…the ones that set crooked or picked up odd leaf imprints when a storm rolled in overnight.
Every stone tells its own story—the wonky ones always spark better tales anyway (“Remember when Dad tried to write mom’s name backward and spelled it ‘Jnae’?”).
So roll up those sleeves—even imperfection feels satisfying when you see your memory path winding through green grass by midsummer.
And hey—if you invent some wild technique or just want to laugh over how yours turned out? Send me a note or picture! Those stories are half the fun and might just inspire someone else nervy enough to try something new underfoot this year.
Ready to get mixing?
Your garden is about to tell your story—no chemistry degree required.